Il restauro del mobile
|
|
|
Saws, types, maintenance and cutting techniques
|
||||||||||||
|
fig.1
fig.3
fig.5
fig.7
fig.9
fig.10
|
fig.2
fig.4
fig.6
fig.8
saw set tool
fig.11
|
||||||||||
|
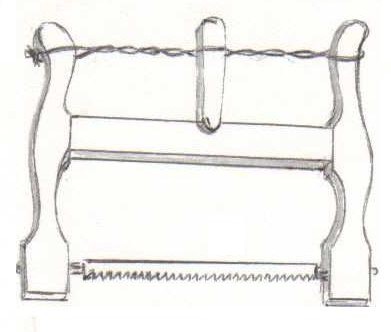
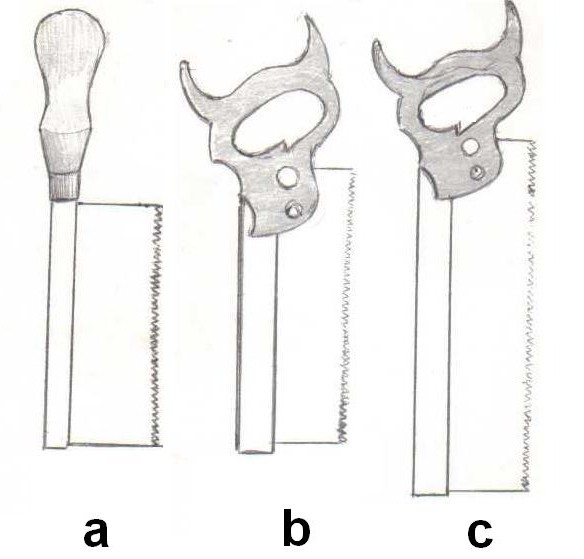
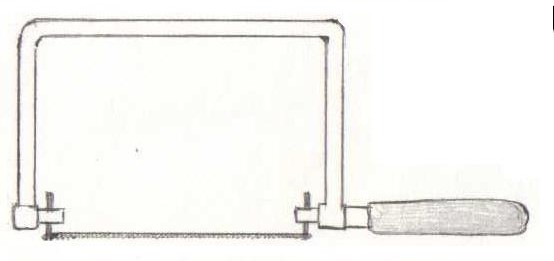
Types |
||||||||||||
|
|
||||||||||||
|
The blade |
||||||||||||
|
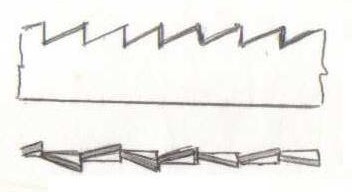
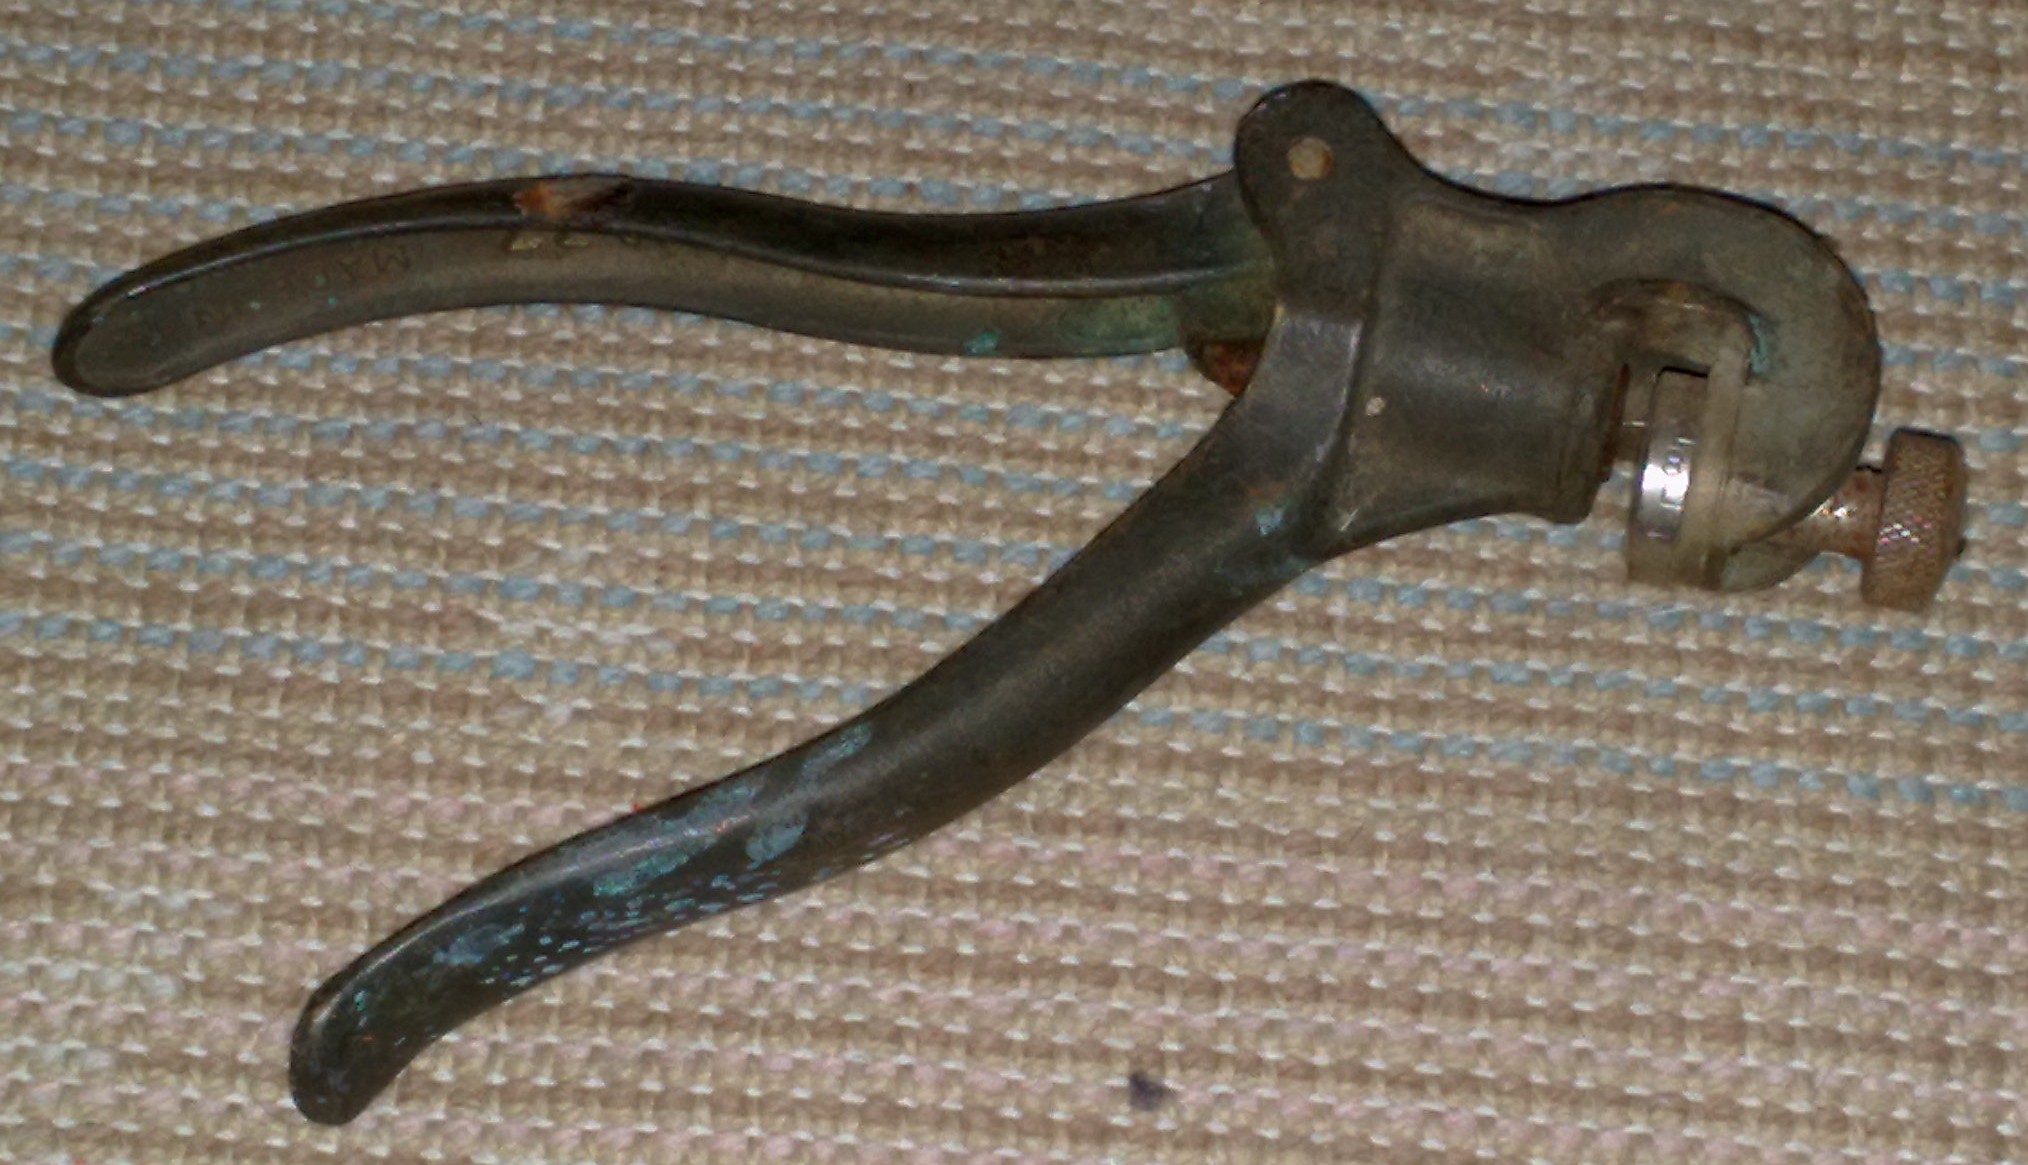
The blades are made of hardened steel, and on one of the edges (called front or bottom edge) there is a series of triangular teeth, more or less thick and inclined. Like all tools, they need some maintenance. Fixed the blade in a vise, sharpening is performed by trimming the teeth with a triangular section file of the right dimensions, (fig. 8). Furthermore, so that during use the saw doesn't get stuck, it is necessary that the teeth have an inclination, relative to the plane of the blade, alternately right and left, so that the cut that is made is slightly wider than the thickness of the blade; that's called spring setting, (fig. 9). This can be accomplished easily with a saw set tool; the one in photography, allows you to adjust beforehand, with an appropriate knob with notches, the magnitude of the inclination of the teeth. Its use is quite simple, although it requires a lot of time; the single teeth are bent by a piston actuated by the pressure made by squeezing the handles the saw set tool. |
||||||||||||
|
|
||||||||||||
|
Cutting techniques |
||||||||||||
|
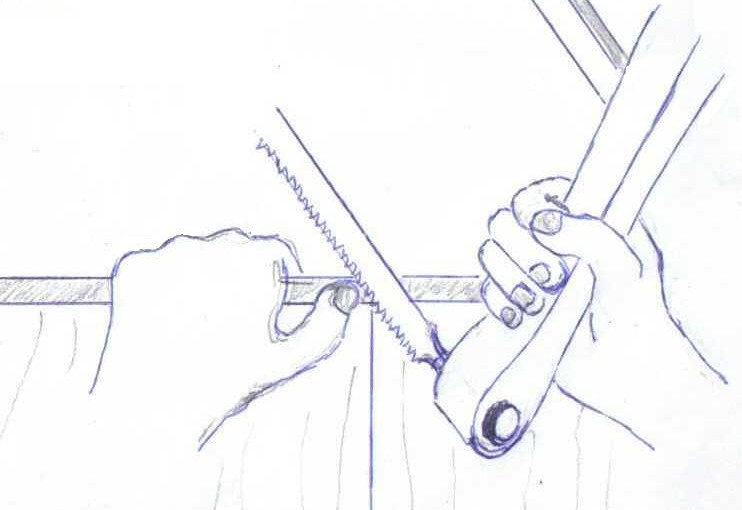
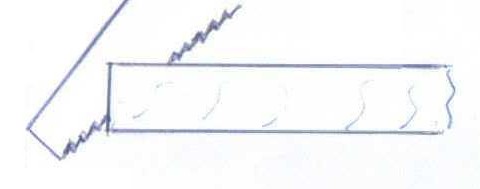
Draw the cut guidelines, by means of ruler, precision square, marking gauge, pencil and anything else necessary, (see marking tools), then you begin to saw with the blade next to the line on the waste side. You start pulling the saw towards you, using the thumb of the hand holding the wood, as a guide. In doing so, angle the blade just enough to keep simultaneously the right direction, with respect to two adjacent guidelines; during cutting will be considered, from time to time, all lines drawn. When cutting the workpiece, if possible, it must be firmly fixed to the leg vise or the tail vise of the carpenter's bench, orienting it in order to allow an ergonomic position which allows to work comfortably and safely. The movements of each stroke, must be fluid enough and long, exerting a constant force and without jerks and without twisting the blade. The trimming cut, tends to splinter the wood, so you must be careful at the end of the cut, in order to prevent this from happening, you will have to hold, with the free hand, the part that isn't fixed, gradually reducing the applied force. The cut along the grain is less tiring, but the blade tends to follow the texture produced by the fibers, moving from the drawn line. For a smoother work, as well as keeping the equipment in perfect efficiency, by a regular maintenance, as described above, it may be useful, in order to reduce friction, to pass the paraffin, a common candle or dry soap, on the blade, before cutting.
|
||||||||||||
|
Electrical |
||||||||||||
|
Although the description of power tools, basicly exiles from the topics covered in this website, we mention the possibility of using profitably small hobbyist band saws, of comparable size and limited cost, which are particularly useful for making curved cuts. |
||||||||||||
|
|
||||||||||||